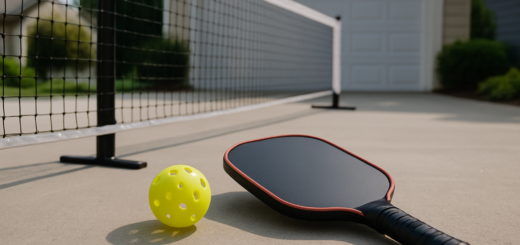
How to Paint a Pickleball Court: Surface Prep, Paint Types, Lines, and a Lasting Finish
Learning how to paint a pickleball court starts with a clean, properly prepared surface and the right acrylic sport court paint. Get those two things right, and your lines will stay crisp. Your color will hold up through seasons. Your playing surface will perform the way it should.
Key Takeaways
- Surface preparation is the single most important step when you paint a pickleball court. Paint applied to a dirty, cracked, or damp surface will peel within months.
- Use 100% acrylic sport court paint, not standard exterior house paint. The texture and flexibility matter for both durability and player traction.
- Pickleball court dimensions are 20 feet wide by 44 feet long. Every line must be 2 inches wide according to USA Pickleball regulations.
- A non-kitchen zone (NTZ) line, sometimes called the no-volley zone line, sits 7 feet from the net on each side. This is the line most DIYers measure incorrectly.
- Two coats of color plus one dedicated line coat is the standard approach for a clean, professional result.
- Renting a line striper tool or using a purpose-built court striping kit will save you hours compared to painter’s tape alone.
Why Surface Preparation Decides Everything When You Paint a Pickleball Court
Before you buy a single can of paint, you need to take an honest look at your surface. Whether you’re working with an existing concrete slab, asphalt, or a dedicated sport court base, the condition of that surface will determine how long your paint job actually lasts.
Concrete surfaces are the most common for residential and community courts. They need to be:
- Free of oil, grease, and dirt (pressure wash at 2,500-3,000 PSI)
- Allowed to cure fully if newly poured (minimum 28 days)
- Checked for cracks and filled with a flexible polyurethane or epoxy crack filler
- Etched with a diluted muriatic acid solution (1 part acid to 10 parts water) if the surface is sealed or overly smooth, then neutralized and rinsed thoroughly
Asphalt surfaces present a different challenge. Fresh asphalt needs to cure for at least 90 days before any coating is applied. Existing asphalt should be cleaned and degreased. You should also inspect it for soft spots or alligatoring. Patch any damaged areas and allow them to fully set before painting begins.
One detail that catches many DIYers off guard: humidity and temperature matter more than most people expect. Apply paint only when the ambient temperature is between 50°F and 90°F. Additionally, no rain should be expected for at least 24 hours. Painting in direct midday sun on a 95°F afternoon is asking for bubbling and uneven adhesion.
Choosing the Right Paint and Materials for Your Pickleball Court
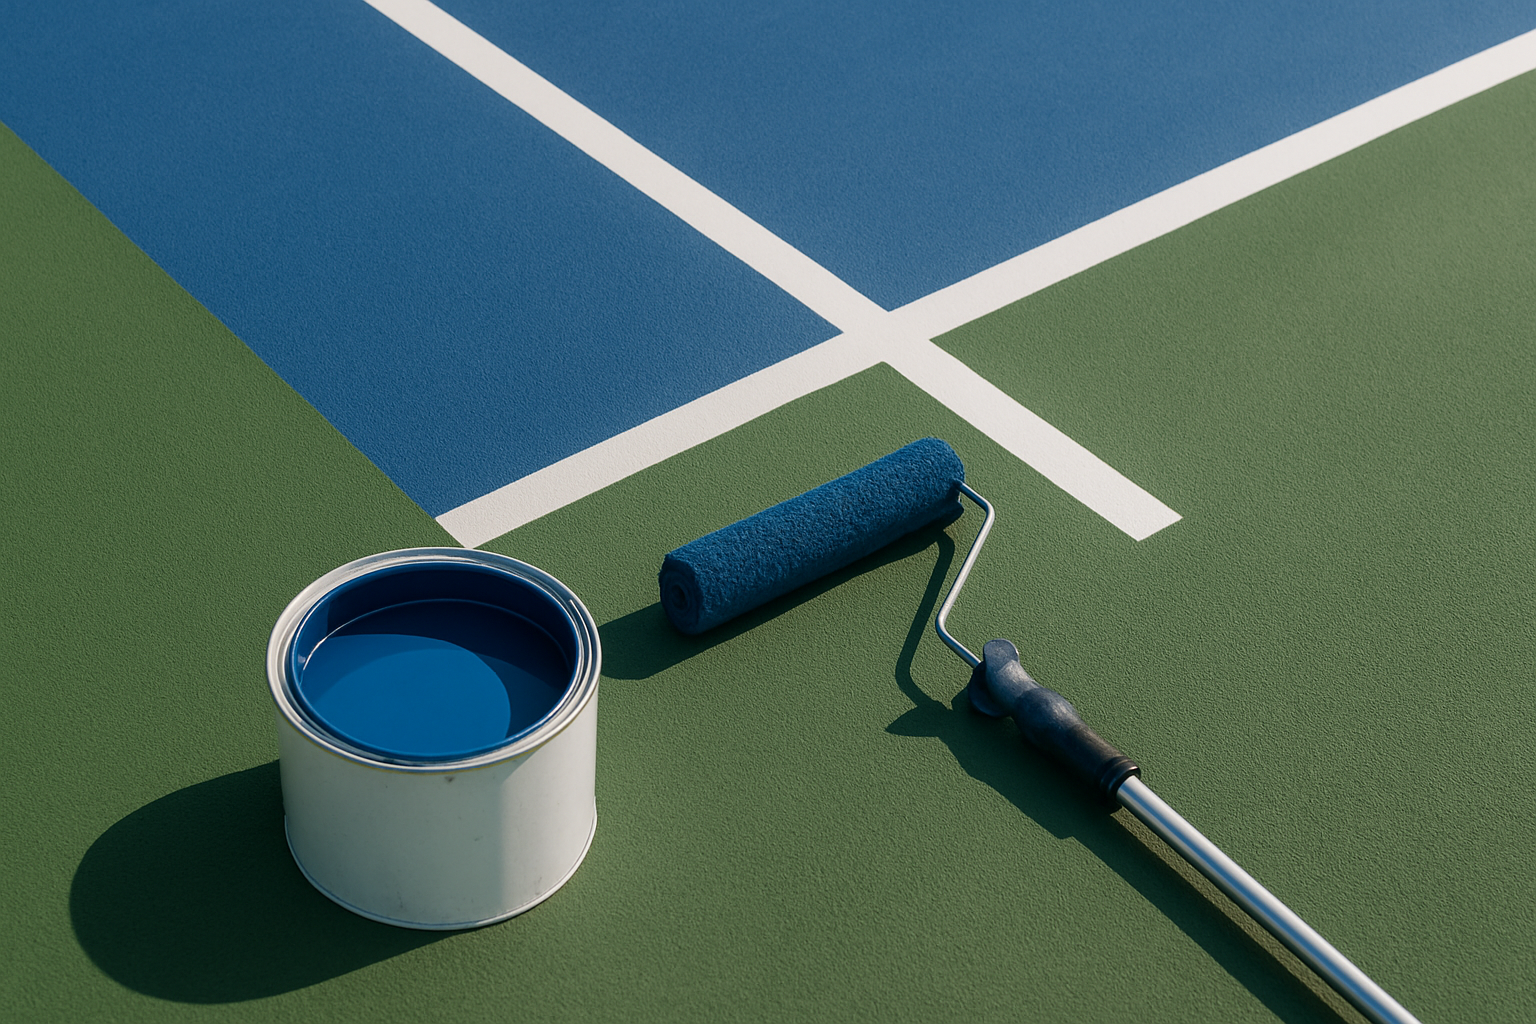
Not all exterior paint is the same, and using the wrong product on a sport court is one of the most expensive mistakes you can make. Standard house paint lacks the flexibility and texture profile needed to handle foot traffic, court shoes, and seasonal expansion and contraction of the slab.
What Paint to Buy for How to Paint a Pickleball Court
The industry standard for pickleball and tennis courts is 100% acrylic resurfacer and color coat paint. This is often sold as “sport court paint” or “cushion court coating.” Brands like Sherwin-Williams (Rez Sport), DecoMaster, and TennisCourtProducts are widely available in the U.S. These products are specifically formulated for outdoor athletic surfaces.
These paints contain:
- Acrylic resins that flex with the slab rather than cracking
- Silica sand or rubber aggregate mixed into the base coat for traction
- UV-resistant pigments that prevent fading under direct sunlight
For a standard 20×44-foot pickleball court, plan on roughly 3-5 gallons per coat. You will typically apply two color coats plus a separate white or contrasting color for the lines. Budget accordingly.
Color Choices and Visibility
USA Pickleball does not mandate specific court colors. However, there are practical visibility considerations to keep in mind. The most common combination in public parks and recreation centers across the country is:
| Color Combo | Visibility Rating | Notes |
|---|---|---|
| Blue court / Yellow-green lines | Excellent | Matches outdoor tennis ball color contrast |
| Green court / White lines | Very Good | Classic look, common in rec centers |
| Slate/Gray court / White lines | Good | Hides dirt well, slightly less contrast |
| Red court / White lines | Good | High visual impact, can cause glare |
| Blue court / White lines | Very Good | High contrast, popular for community courts |
White lines on a colored field offer the most contrast for players tracking the ball. This helps players read court boundaries during fast exchanges.
Tools You Will Need
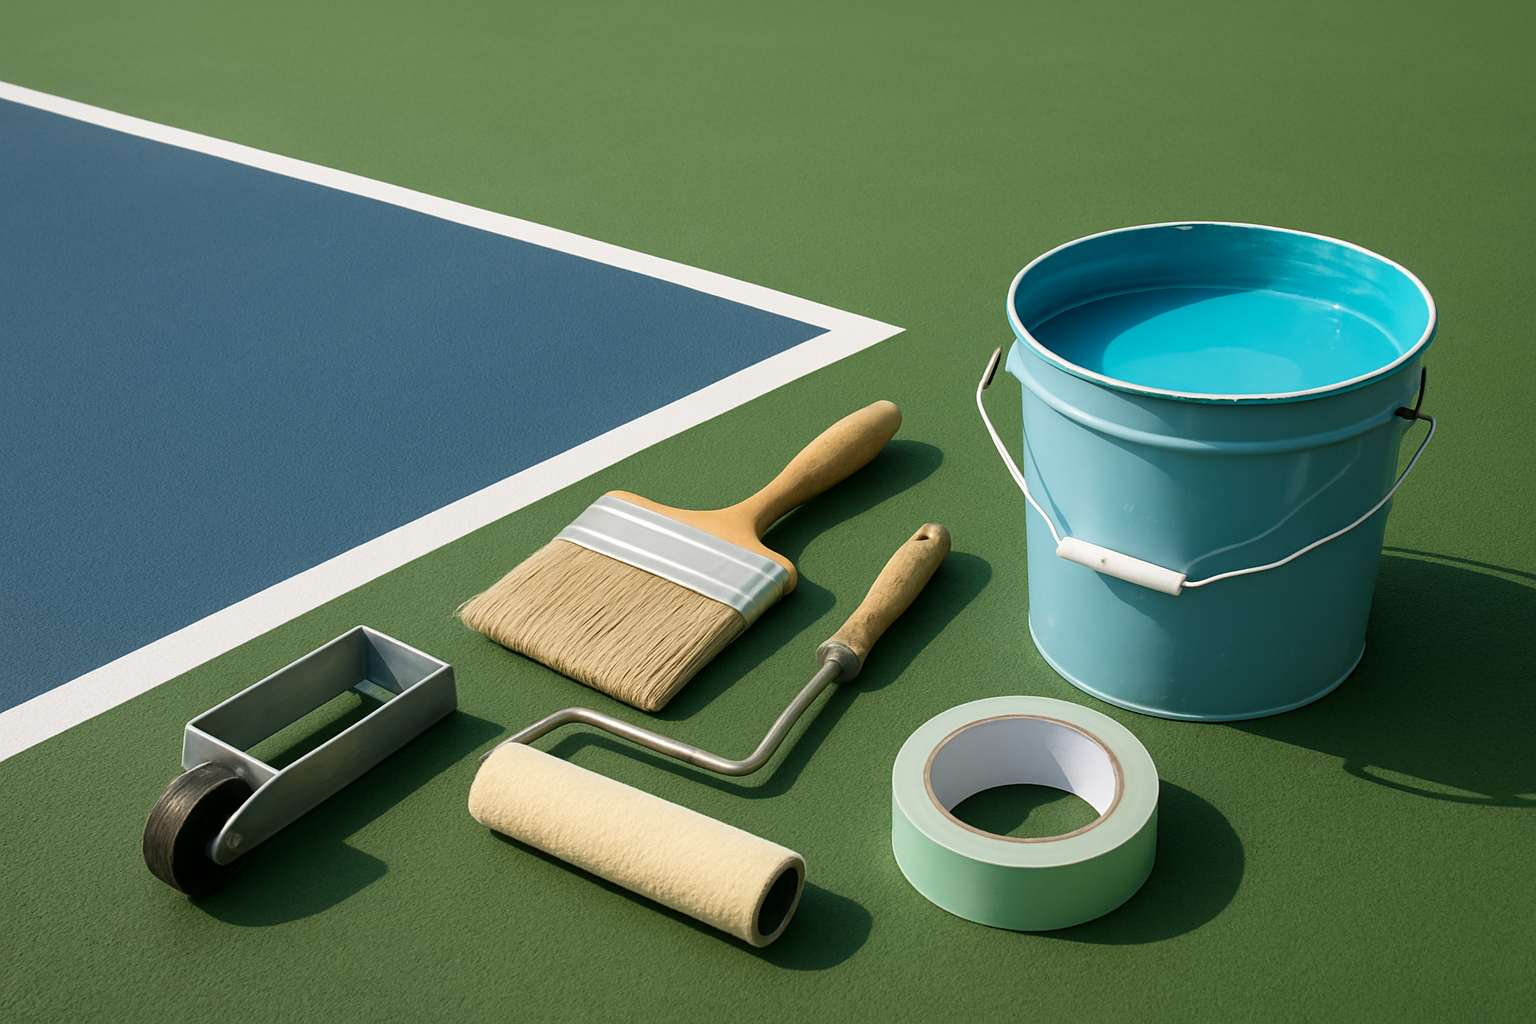
- Paint roller with 3/8-inch nap (for color coats)
- Line striping machine or a 2-inch striping roller with guide template
- Chalk snap line
- Tape measure (at least 50 feet)
- Painter’s tape (2-inch width)
- Mixing paddle and power drill
- Safety glasses and chemical-resistant gloves
Pickleball Court Dimensions You Must Get Right When You Paint
USA Pickleball sets clear line specifications. Getting these wrong means replaying disputed points. You may fail inspections or create a court that doesn’t play correctly. Here are the official dimensions you need to work from:
- Overall court size: 20 feet wide x 44 feet long
- Recommended play area: 30 feet wide x 64 feet long (includes out-of-bounds buffer)
- Non-volley zone (kitchen): 7 feet from the net on each side
- Service areas: Divided by a centerline running from the baseline to the NTZ line
- Net height: 36 inches at the sidelines, 34 inches at center
- All lines: 2 inches wide (lines are considered in-bounds except the NTZ line on volleys)
Laying Out the Lines Step by Step for How to Paint a Pickleball Court
- Find the center point of your court and mark it clearly with chalk.
- Snap a chalk baseline across the full 20-foot width at each end (22 feet from center on each side).
- Snap the sidelines connecting both baselines, running the full 44-foot length.
- Measure and mark 7 feet from each side of the net position and snap the NTZ (kitchen) lines parallel to the baselines.
- Snap the centerline running from each NTZ line to the corresponding baseline. This divides the service boxes.
- Apply 2-inch painter’s tape along all snapped chalk lines before painting.
- Apply your line paint in two thin coats, removing tape carefully before the second coat fully dries to avoid edge peeling.
This sequence, working outward from the center, reduces cumulative measuring error. Even a small error at the start compounds over 44 feet.
Applying the Paint: Process, Coats, and Drying Time
Understanding how to paint a pickleball court properly means thinking in layers. Each layer has a job. Rushing between them is how you end up with a surface that bubbles, peels, or wears unevenly within a single season.
Step 1: Apply the Resurfacer (If Needed)
If your concrete has minor surface porosity or small texture irregularities, start with an acrylic resurfacer. This is a thick, sand-filled product rolled on in one coat. It should be allowed to cure for 24 hours. It levels the surface and improves paint adhesion dramatically.
Step 2: Apply the First Color Coat
Thin your acrylic sport paint slightly (follow manufacturer specs, typically 10-15% water for the first coat on raw concrete). Roll it evenly across the full court using long, overlapping passes. Allow to dry completely, typically 4-6 hours depending on temperature and humidity. Do not paint over tacky paint.
Step 3: Apply the Second Color Coat
Apply full-strength paint for the second coat. This is where your color depth comes from. Again, allow full drying time, typically 4-6 hours minimum.
Step 4: Apply the Lines
Once the color coats are fully cured (ideally 24 hours), apply your line paint using either a striping machine or a 2-inch roller guided by tape. White is standard for most courts. Apply two thin coats of line paint for maximum visibility and edge sharpness.
Drying and Curing Timeline
| Stage | Dry Time | Full Cure Before Play |
|---|---|---|
| Resurfacer | 24 hours | 48 hours |
| First color coat | 4-6 hours | 24 hours |
| Second color coat | 4-6 hours | 24 hours |
| Line paint (each coat) | 2-4 hours | 24 hours |
| Full court ready for play | n/a | 72 hours after final coat |
Rushing this timeline is the single most common cause of failed court paint jobs.
Things to Know About How to Paint a Pickleball Court
- Pressure washing too aggressively (above 3,500 PSI on concrete) can open the surface texture too wide. This causes paint to absorb unevenly.
- Temperature below 50°F causes acrylic paint to cure improperly. Even if it looks dry, the film won’t bond correctly. It will peel under UV exposure.
- Most sport court paint products require stirring for a full 3-5 minutes before use. The silica or sand aggregate settles and must be fully reincorporated. Otherwise you’ll get inconsistent texture across the court.
- If you’re converting an existing tennis court, be aware that standard tennis court dimensions don’t perfectly align with pickleball dimensions. You’ll be painting over or next to existing lines, which requires extra care with color contrast.
- Chalk snap lines leave residue that can interfere with adhesion if you paint directly over them. Always brush away excess chalk dust before applying paint to those areas.
- Budget realistically: materials for a single residential court typically run $400-$900. This depends on paint brand, number of coats needed, and whether a resurfacer is required.
Frequently Asked Questions
Q: Can you use regular exterior paint on a pickleball court?
Regular exterior house paint is not suitable for sport court surfaces. It lacks the flexibility, texture, and abrasion resistance required for athletic use. Standard exterior paint will wear through quickly. Additionally, it becomes slippery when wet and may crack as the slab expands and contracts with temperature changes. Always use 100% acrylic sport court coating.
Q: How long does a painted pickleball court last before it needs to be repainted?
A well-applied sport court paint job typically lasts 4-8 years depending on climate, traffic, and surface quality. Courts in hot southern states like Arizona or Florida may see faster UV degradation. Courts in northern states with freeze-thaw cycles may experience edge cracking sooner. Light traffic residential courts can exceed 10 years with proper prep and quality paint.
Q: Do you need a permit to build or paint a pickleball court in your backyard?
Permit requirements vary by municipality and whether you are adding a new structure or simply resurfacing an existing slab. Painting an existing slab generally does not require a permit. Installing a new court, adding lighting, or building retaining walls typically does. Check with your local zoning or building department before starting any construction work.
Q: What is the best time of year to paint a pickleball court?
Late spring or early fall offers the best conditions in most U.S. regions. You want temperatures consistently between 60°F and 80°F with low humidity and no rain in the forecast for at least 48 hours. Avoid summer afternoons in high-heat states and avoid any painting within a few weeks of the first expected frost.
Q: How do you fix peeling paint on an existing pickleball court?
Remove all loose or peeling paint with a floor scraper or pressure washer. Then clean, patch, and repaint from that layer up. You cannot simply paint over peeling sections. The adhesion failure underneath will cause new paint to lift as well. If peeling is widespread, the entire surface needs to be stripped back to a sound, stable layer before repainting. A bonding primer applied before the color coat can improve adhesion on problematic surfaces.
The Bottom Line on How to Paint a Pickleball Court
How to paint a pickleball court comes down to three non-negotiable factors: a clean and stable surface, the right acrylic sport paint applied in proper layers, and accurate line measurements according to USA Pickleball standards. Skip any of those three, and the result will disappoint you well before it should.
Your next step is simple: assess your surface first. Pressure wash it and fill any cracks. Let it dry completely before you buy a single drop of paint. From there, gather your materials and map out your dimensions using a chalk snap line. Commit to the drying time between coats. A court built with patience in the prep phase will reward you with years of solid play.